More actions
No edit summary |
|||
| Line 1: | Line 1: | ||
__FORCETOC__ | __FORCETOC__ | ||
== | == Inserting Infoboxes into a Page == | ||
1. Click "Insert" in the top bar. | 1. Click "Insert" in the top bar. | ||
Revision as of 22:02, 9 August 2023
Inserting Infoboxes into a Page
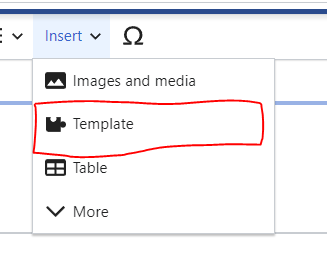
1. Click "Insert" in the top bar.
2. A dropdown should appear. Click "Template".
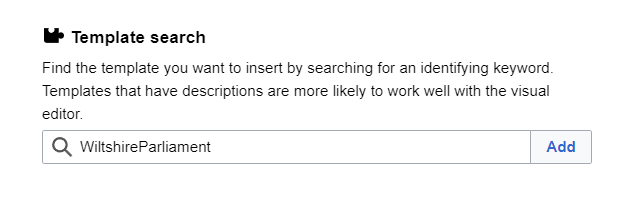
3. A search bar will appear. Start typing in the name of the infobox you want, click the appropriate name.
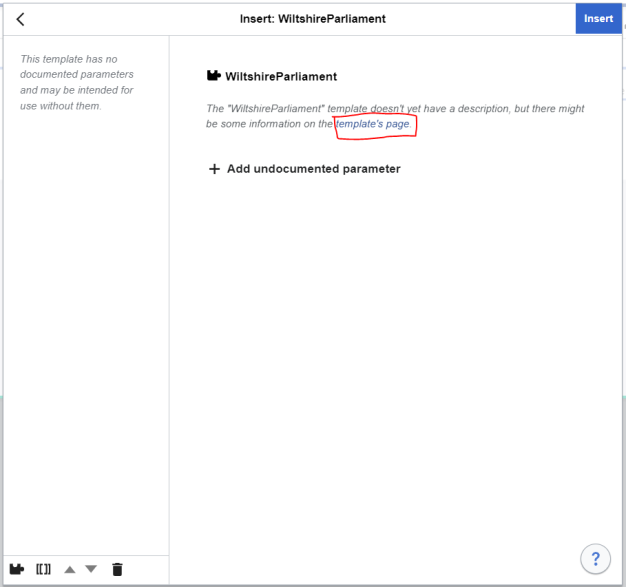
4. If the infobox looks blank like this, then keep following these steps. Click on the blue link that reads "template's page." Open it in a new tab.
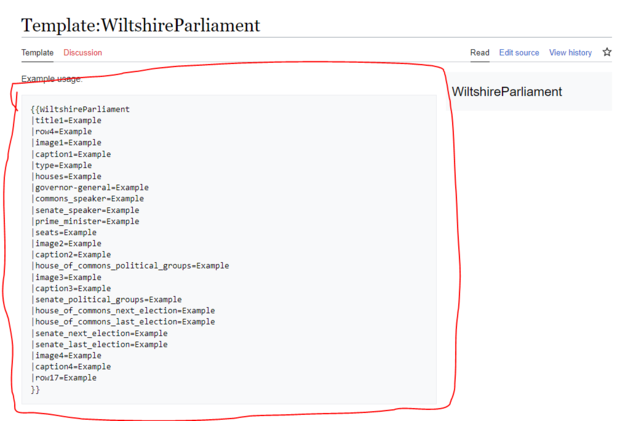
5. You will be brought to a page that looks like this. Copy the text in the grey box (I have also circled what you need to copy in red here).
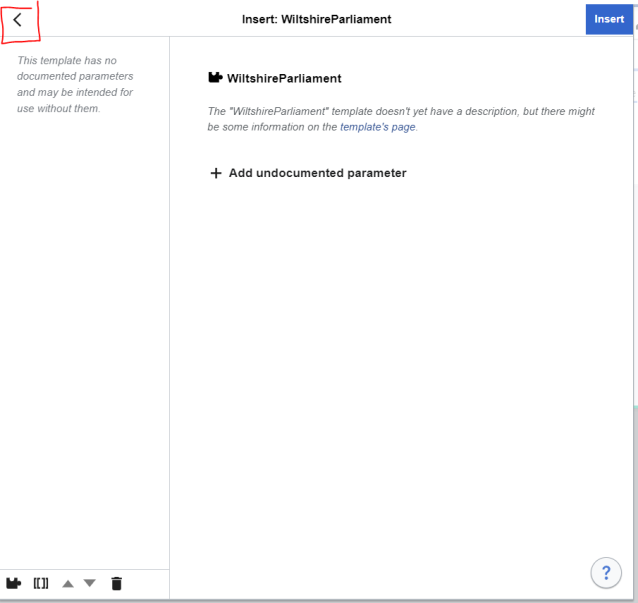
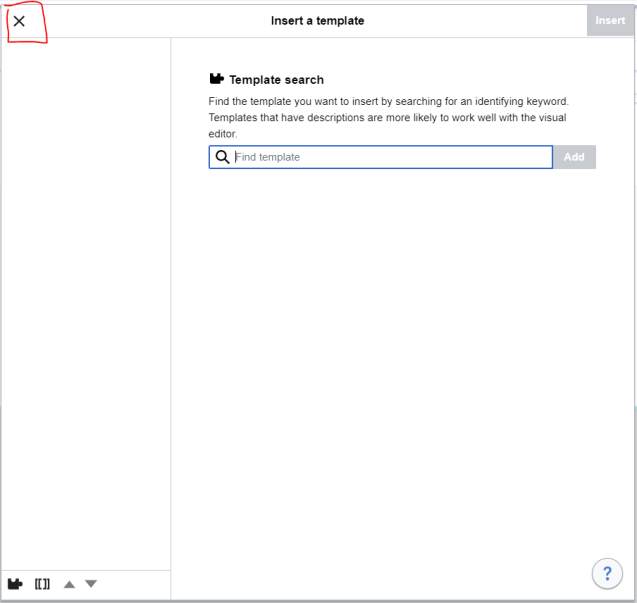
6. Go back to the page you want to add the infobox to. Click the arrow, then the X to exit out of this window.
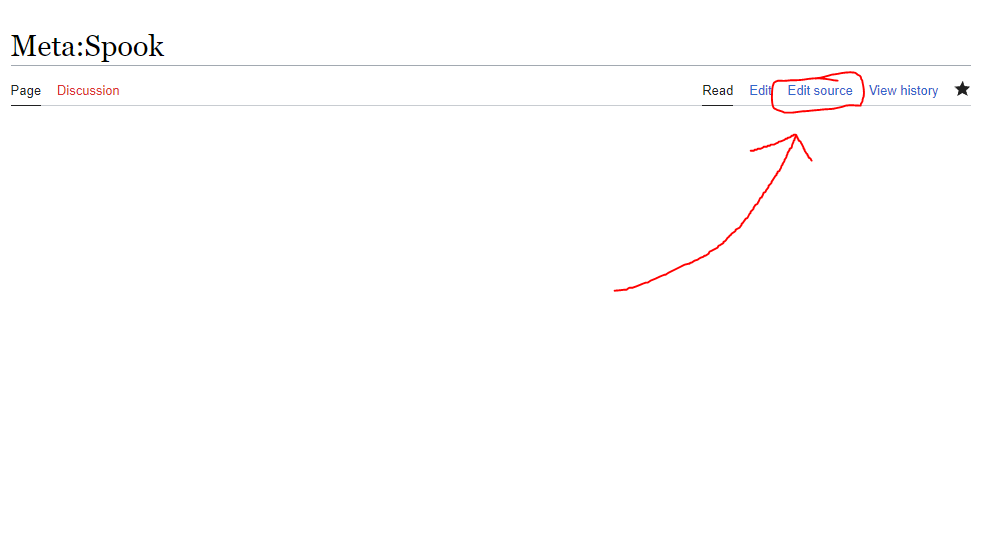
7. Look at the top right and click "edit source".
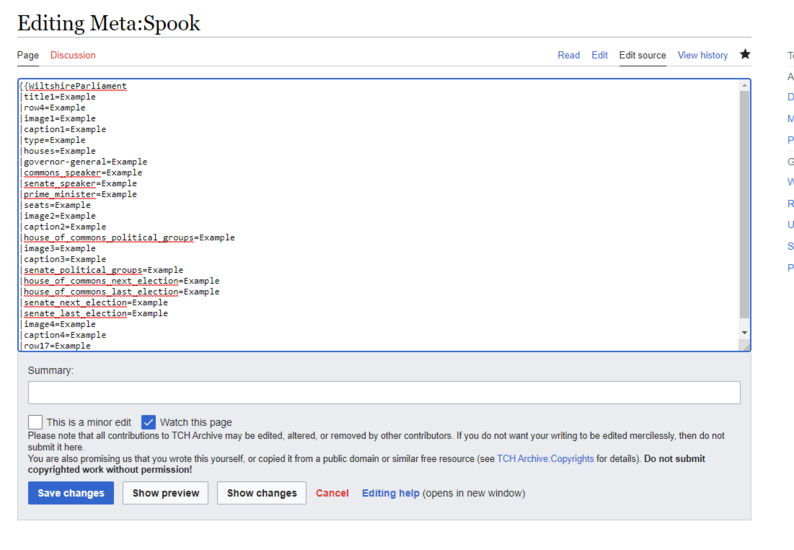
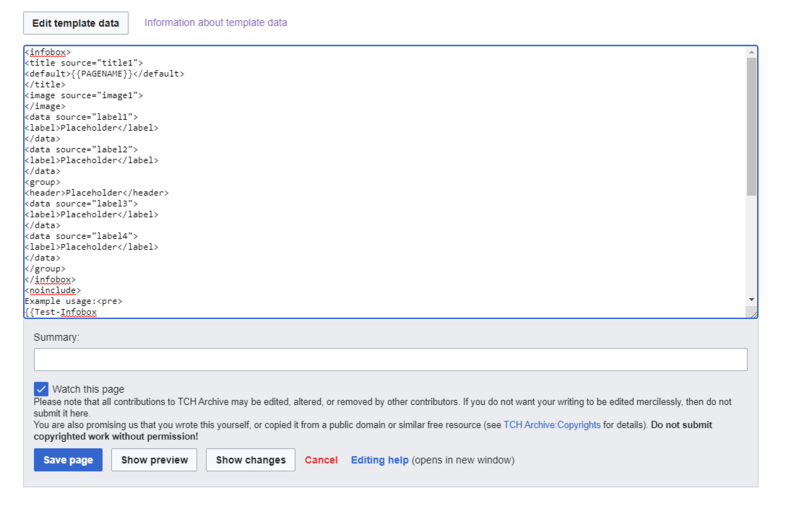
8. A text box will appear in the center. Paste the text you copied in the text box. It should look something like this.
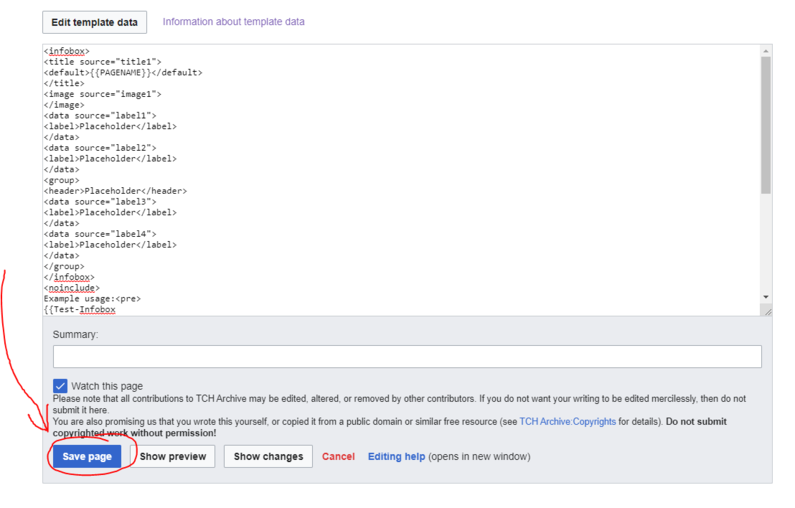
9. Click "Save Changes". You can then edit the page again, click on the template and click "Edit", and you'll be able to fill out the infobox as normal.
Making a New Infobox
Notice: Keep in mind that I am describing the process here for designing an infobox
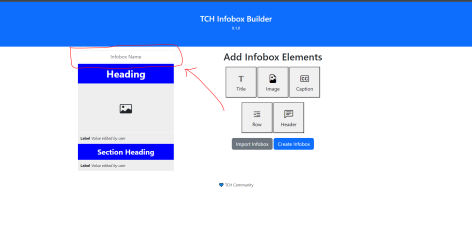
1. Go to the infobox builder: http://tools.thecorphub.xyz/InfoboxBuilder/
2. First make sure that your new infobox has a name.
3. If you click on a row, a window will pop up that allows you to fill out some options. I will explain these options here now:
  a. Label - This is the name of the row, and will be what people see when they fill your infobox out. Keep the label short, but make it descriptive (for example, "Portrait" or "Full Name")
  b. Description - Descriptions can be longer and should be used to tell people what kind of information is supposed to go in this row.
  c. Example - Give here an example of what needs to go in this row.
  d. Type - This is the type of data that will go in this row. If it's an image, set it to "File Name/Image". The other options should be self explanatory, but if you're in doubt about what to set the type to, leaving it as "Text" is the safest option.
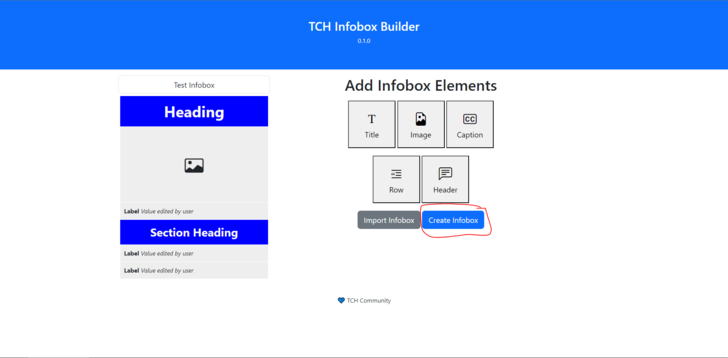
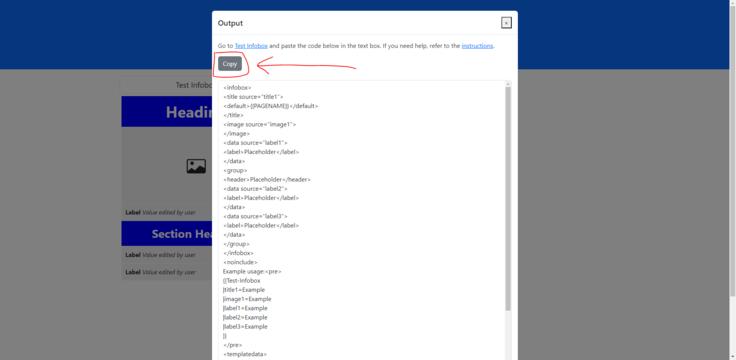
4. Once you are done, click "Create Infobox", and a window will pop up. Click the "Copy" button to copy the code.
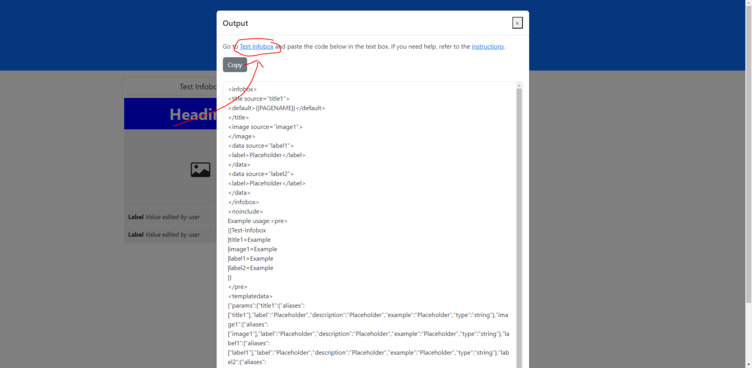
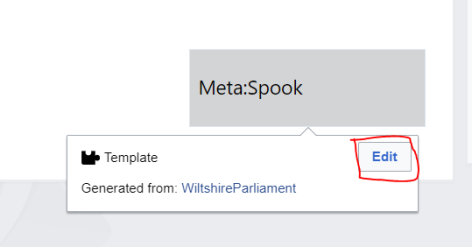
5. Right click on the first link, circled here and colored in blue, and open it in a new tab. In this image, the link says "test infobox", but for you it should be whatever you named your infobox.
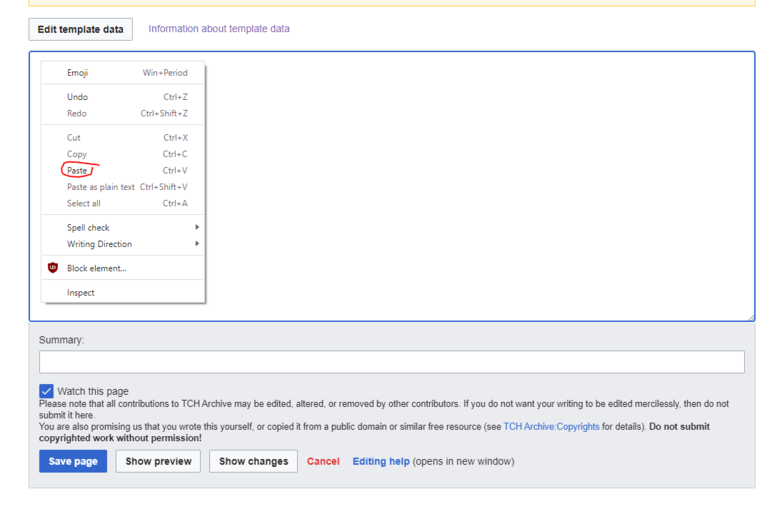
6. Upon clicking the link, you will be redirected to the wiki where you will see an empty text area in front of you. Right click in the text box and click "paste."
7. Now we're gonna scroll down and click the button that says "Save changes."
8. You should be done. Now you can go to


